
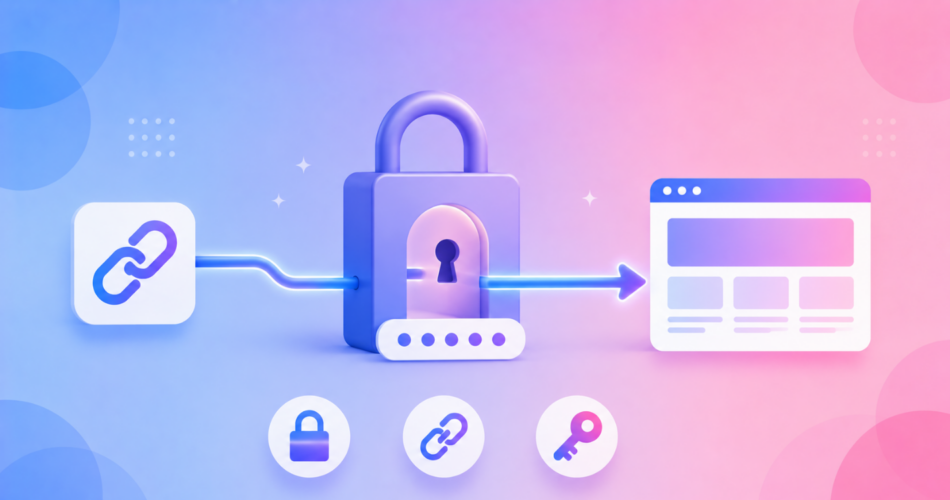
Password protecting a link means putting a password in front of it, so only people who know the password can reach the destination.
It is the simplest way to share a private page, file, or draft without making it public.
The fastest method works for any link: wrap it in a password-protected short link.
You can also lock a page at the server level or protect a file directly.
This guide covers all three, shows you the steps, and is honest about what password protection actually secures.
Key Takeaways
- The easiest method is a password-protected short link: visitors must enter a password before they reach your content.
- It works for any URL, needs no code, and takes about a minute in a tool like Linko.
- To lock a whole web page you own, use server-level protection or your site builder’s page password.
- To protect a document, add a password to the file itself before sharing.
- Password protection is an access gate, not encryption. Use a strong password and pair it with link expiration.
How Does a Password-Protected Link Work?
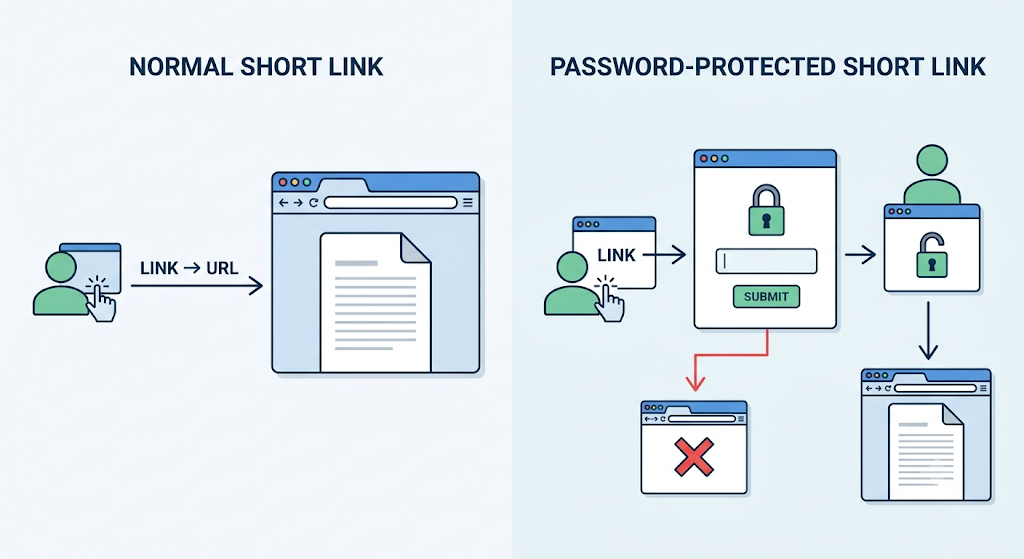
A normal short link redirects the moment someone clicks it.
A password-protected link does not.
Instead, the visitor lands on a small password entry page.
They type the password, and only then are they redirected to the destination.
Enter the wrong password, and they go nowhere.
This gives you a lightweight content gate in front of any URL, with no coding and nothing to install.
Method 1: Password Protect Any Link (Easiest)
This is the method most people want, because it works for any destination: a Google Doc, a Notion page, a landing page, a file, anything with a URL.
Here is how to do it in Linko:
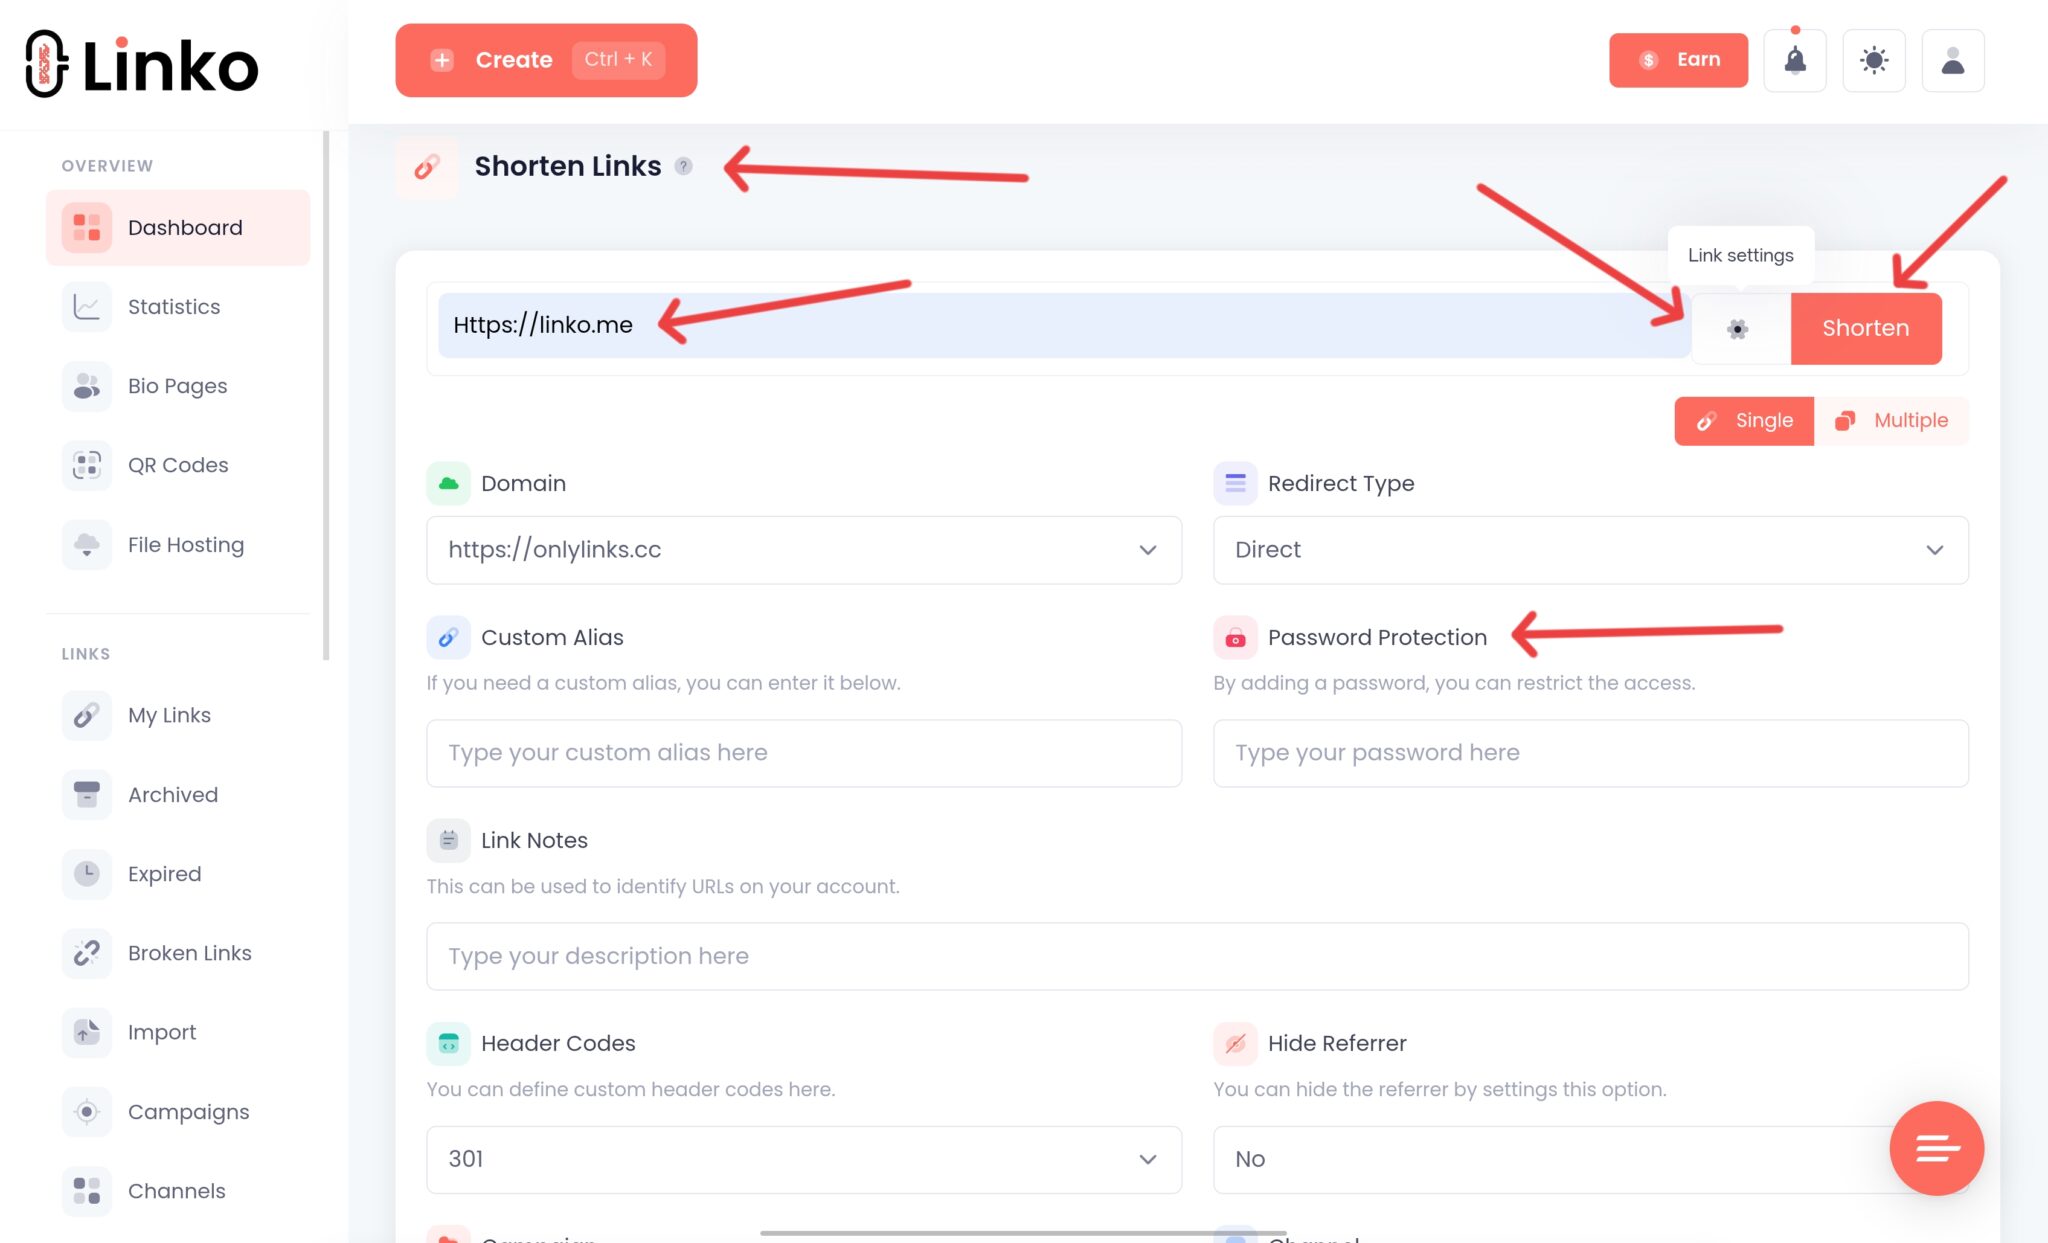
- Copy the link you want to protect.
- Paste it into Linko and open the Advanced options.
- Set your password.
- Click Shorten to create the link.
- Share the short link, and give the password to the right people through a separate channel.
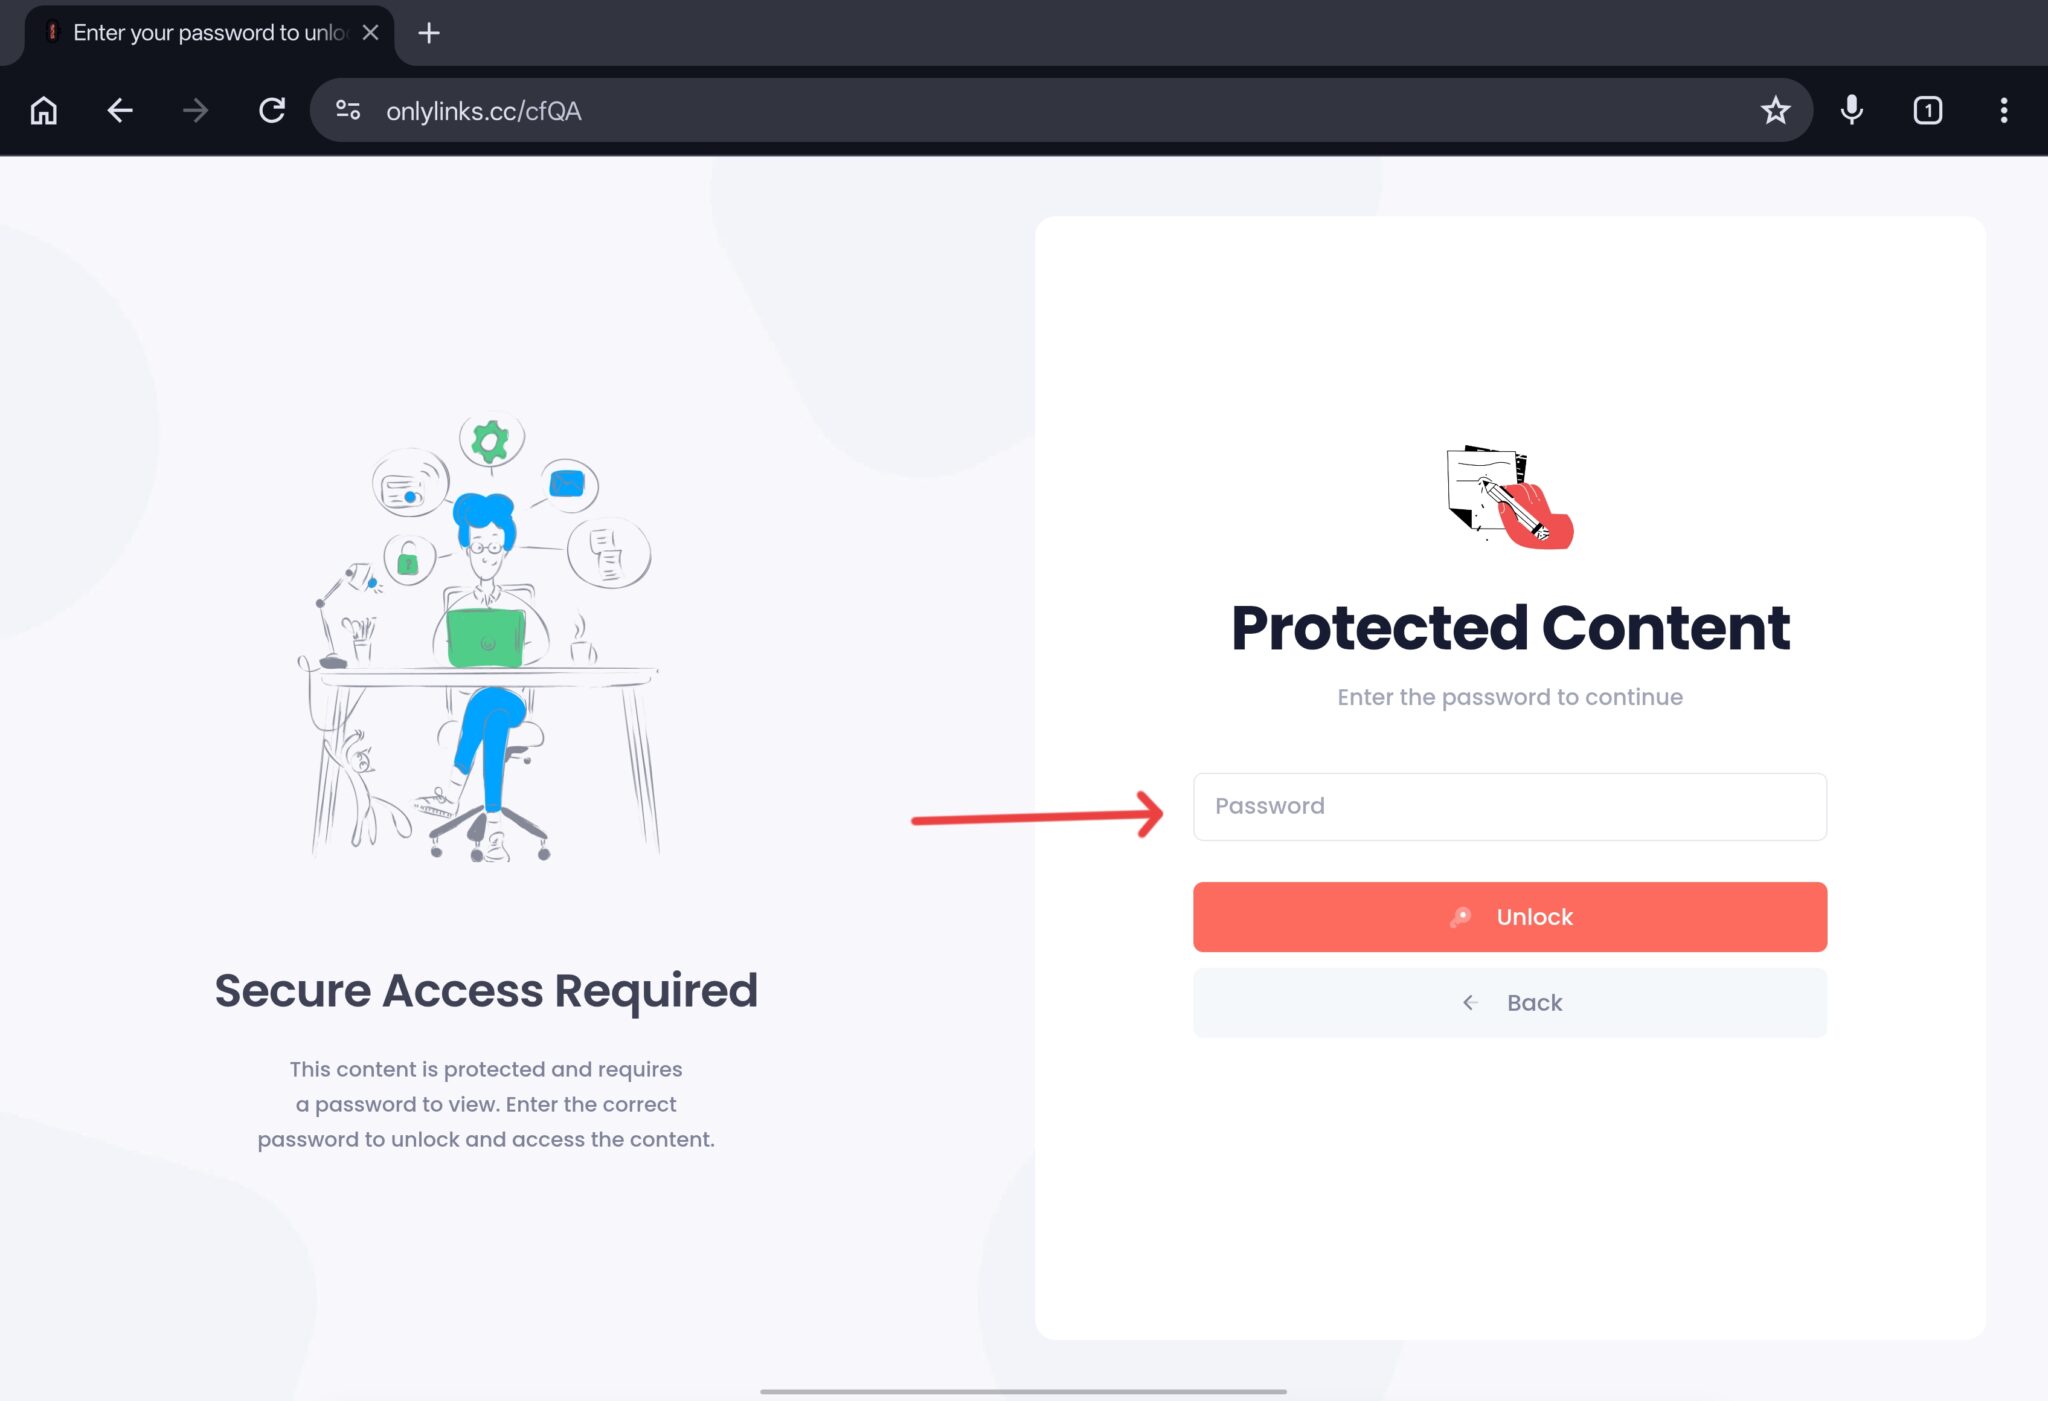
Now anyone who clicks sees a password prompt, and only people with the password get through.
You can also track clicks and add an expiration date to the same link.
To start from the basics, see our guide on how to make a short link.
Method 2: Password Protect a Web Page You Own
If you want to lock the page itself, not just a link to it, protect it at the source.
- On your own server (Apache): require a login for a folder using an
.htaccessfile paired with an.htpasswdfile. This is the classic server-level method, documented in the Apache authentication guide. - On a site builder: Squarespace, Wix, and WordPress all let you set a password on an individual page or post from the admin panel, with no code.
Use this when you control the website and want the page to stay locked no matter how someone reaches it.
Method 3: Password Protect a File
If you are sharing a document, you can add the password to the file itself.
Most PDF editors and office apps let you set an open password, so the file cannot be read without it.
This travels with the file, which is useful for attachments and downloads.
The trade-off is that you cannot change the password later without re-sending the file.
Which Method Should You Use?
Match the method to what you are actually trying to protect.
| Your goal | Best method | What it protects |
|---|---|---|
| Share any link privately, fast | Password-protected short link | The link and redirect |
| Lock a page you own | Server protection or site-builder page password | The web page itself |
| Send a private document | Password on the file | The file itself |
For most people sharing a link, the short-link method is the quickest and most flexible.
Is a Password-Protected Link Actually Secure?
Here is the honest answer, because it matters.
A password-protected link is an access gate, not encryption.
It stops casual visitors, forwarded-link snoopers, and unauthorized access, which covers the large majority of real needs.
But once someone enters the correct password, they reach the destination and can copy, bookmark, or reshare that final URL.
So it controls who gets through the gate, not what they do afterward.
To make it stronger:
- Use a strong, unique password, not “1234” or your brand name.
- Share the password through a different channel than the link, such as a separate message.
- Add an expiration date so the link stops working after a set time.
- For truly sensitive content, protect the source too, not just the link.
If your goal is to hide or clean up affiliate and tracking URLs rather than gate them, see our guide on link cloaking instead.
Frequently Asked Questions
How do I password protect a link?
Paste your link into a tool like Linko, open the advanced options, turn on password protection, set a password, and shorten it. Anyone who clicks must enter the password before they are redirected.
Can I password protect any URL?
Yes. A password-protected short link works in front of any destination, including a Google Doc, a Notion page, a file, or a landing page, because it gates the redirect rather than the content itself.
Is password protection the same as encryption?
No. It is an access gate that controls who gets redirected. It does not encrypt the destination, and once someone passes the gate they can reshare the final URL. For sensitive files, also protect the file or page at the source.
How do I password protect a Google Drive or Notion link?
Google Drive uses sharing permissions rather than passwords, and Notion has no native page password. The simplest fix is to wrap the share link in a password-protected short link so visitors must enter a password first.
Can I add an expiration date as well as a password?
Yes. Pairing a password with an expiration date is a strong combination: only people with the password get in, and the link stops working after the date you set.
Protect Your Next Link in a Minute
A password-protected link is the fastest way to share something privately without building a login system.
Add a password, share the link, and control who gets through.
Create a free Linko account and password protect your first link today.
You can try it with the linko link shortener, then add a password and expiry in the advanced settings.
Comments